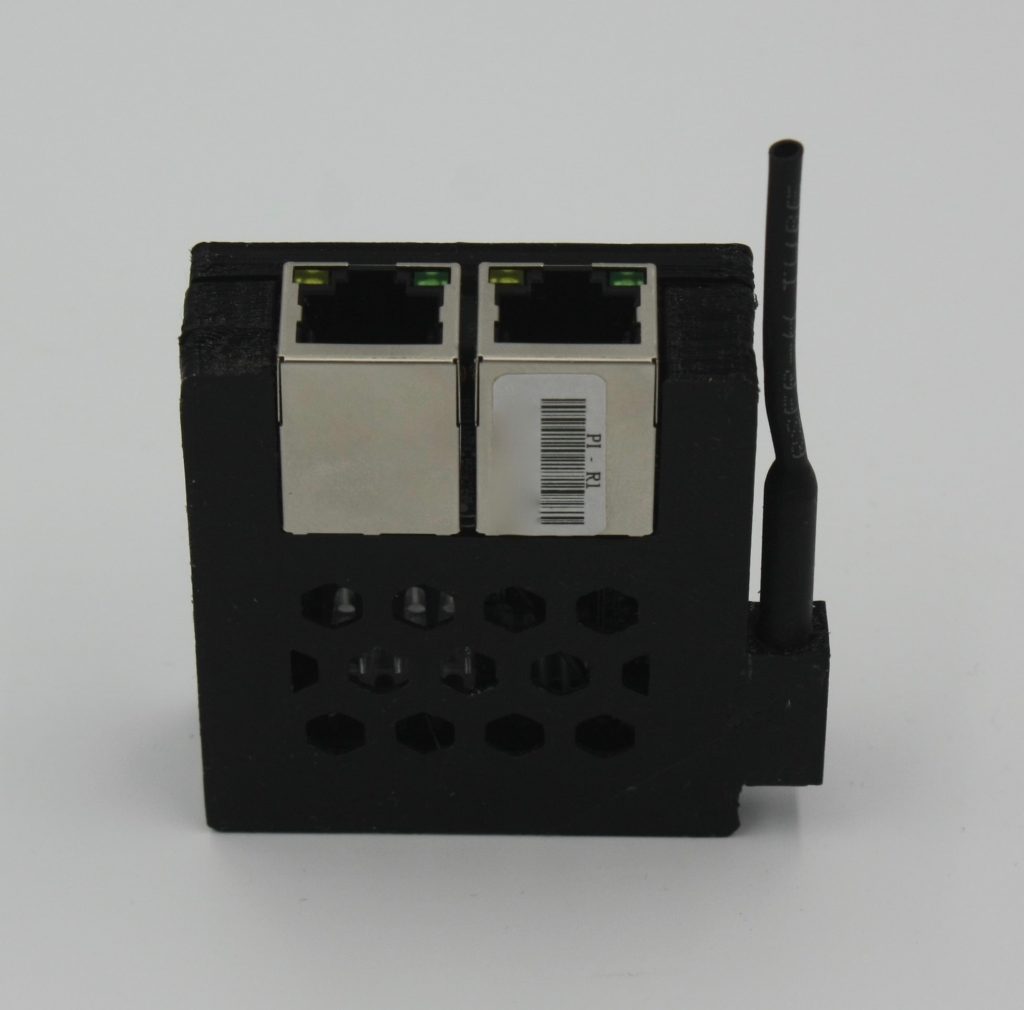
Sometimes you cannot pick your ISPs or the equipment they deploy. My ISP (USInternet) is great, but the Customer Premise Equipment(CPE) they deploy leaves something to be desired.
For one, they do not support IPv6, this is 2019 and IPv6 should be required for any new deployments and to make matters worse the CPE is completely locked down and the DHCP server only provides RFC1918 addresses, in this case 192.168.30.0/24. If you want to run your own services on your network you end up having to either live with the DHCP server or double-NAT, and i opted for a third choice. Blocking DHCP and running my own DHCP server.
Enter the Orange PI R1, a Chinese Raspberry PI knock-off that comes with 2x NICs and WiFI. I could have used a standard RPi with a USB NIC or some other system with dual-nics but I wanted something that is fanless and reliable.
You will need a microSD card, I had a 2GB card in my junk pile, a 3d printed case like this one that a coworker kindly printed out, and a microUSB power supply, turns out that the OrangePI is a little finicky so get a good quality 1A supply. I also added heatsinks because another coworker had some handy.
I’m a Debian person, so I went with armbian-stretch for the Orange PI R1, copy it to the microSD, assemble your Orange PI R1. The first boot you will need to be plugged into the network with an ethernet cable and be able to find out the IP address assigned. The primary MAC address is stickered on the jack.

ssh in as root (password: 1234) and follow the instructions to change the root password and create an unprivileged account. Login again with the unprivileged account and sudo /usr/bin/armbian-config to configure the wireless interface. This step is optional but highly recommended if you ever want to access your Orange PI R1 later in life. Make sure you are able to ssh in over WiFi before proceeding. It cannot hurt update and install the necessary bridging software.
$ sudo apt update
$ sudo apt upgrade
$ sudo apt install ebtables bridge-utils
Now comes the fun part, you will need to know the names of the NICs on your Orange PI R1, use ‘ip link’ to see the network interfaces. the main one is probably just eth0, the 2nd one will have a funny name like ‘enxc0853ghha5f9’. It really does not matter which is which. create a file /etc/network/interfaces.d/bridge with the following information:
iface enxc0853ghha5f9 inet manual

iface eth0 inet manual

auto br0
 iface br0 inet manual
     bridge_ports eth0 enxc0853ghha5f9
     bridge_stp off
     bridge_waitport 0
     bridge_fd 0
and reboot, you are not done yet to but you are ready to test the bridge. plug it in between your CPE and the rest of your network. everything should work as before.
Now we want to filter out DHCP requests and answers, you will use ebtables which is like iptables but on a lower level. we are going to filter out both ports 67 and 68 in either direction so that the bridge can be used whichever port you plug the uplink into.
$ sudo ebtables -A FORWARD -p IPv4 -i eth0 --ip-proto udp --ip-dport 67 -j DROP
$ sudo ebtables -A FORWARD -p IPv4 -i enxc0853ghha5f9 --ip-proto udp --dport 67 -j DROP
$ sudo ebtables -A FORWARD -p IPv4 -i eth0 --ip-proto udp --ip-dport 68 -j DROP
$ sudo ebtables -A FORWARD -p IPv4 -i enxc0853ghha5f9 --ip-proto udp --dport 68 -j DROP
$ sudo service ebtables save